Progress - Living Room
November 2013
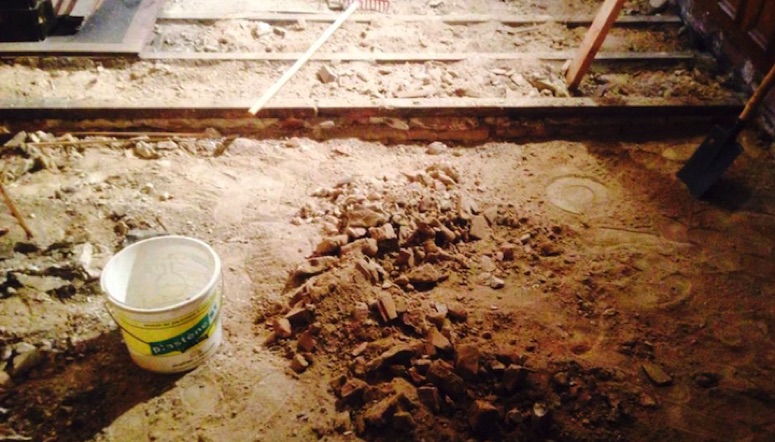
It was clear from the outset that the floor in the Living Room needed to be fixed, since it had a decided "bounce" when walked upon, and did not line up with the boards in the doorway to the Dining Room. Therefore one of the first jobs on the Ground Floor was to lift some boards to check the condition underneath. It was clear from the initial inspection that something was wrong with the cross-beams under the floor, and further inspection showed that it was even worse than first observed. Most of the beams at the Dining Room end of the Living Room were cracked or broken and providing little support to the floorboards.
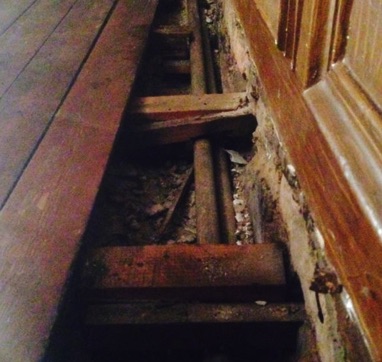
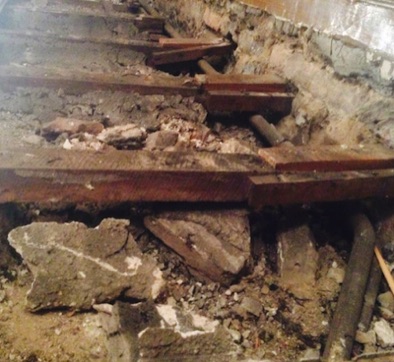
This initial inspection caused us (NB: most times when I say "us", I actually mean Nico) to pull up all the floorboards for a thorough inspection, where it was found that the crossbeams were sitting on and encased in earth. At the Dining Room end of the Living Room, this earth was damp and had caused some rotting of the cross-beams, causing the pronounced sag and bounce.
So a decision was made to remove and replace all the cross-beams at this end of the room.
After some off the earth under the floor had been removed, new support beams were first attached to the concrete walls around the edge of this area, making sure that all the new beams were now clear of the earth beneath them.
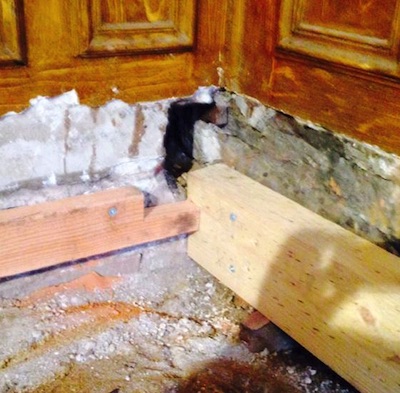
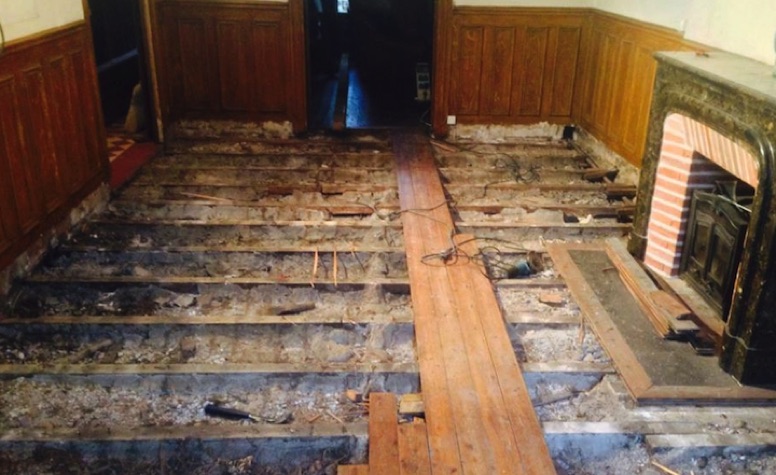
Then cross-beams were run between the new support beams on each side of the room.
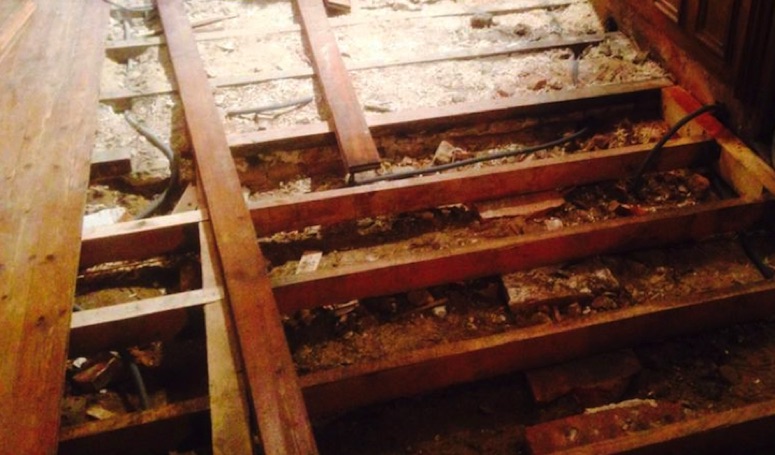
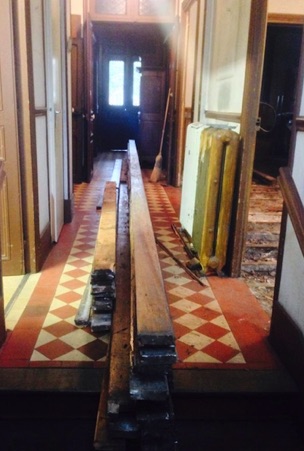
The original floorboards, which had been removed and stacked in the Hallway, were then replaced on the new cross-beams.
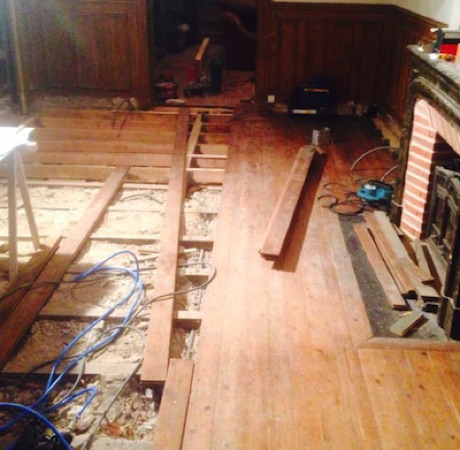
While the floorboards were off, the opportunity was taken to run plumbing pipes and electrical cables underneath the floor to the required places around the room. Once all the floorboards were back on, it was clear that the dip in the floor near the entrance to the Dining Room had been removed.
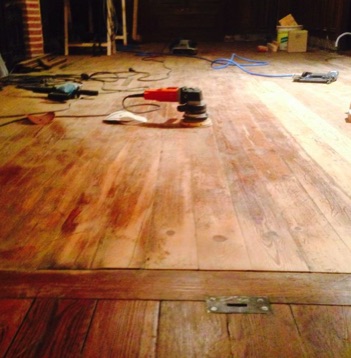
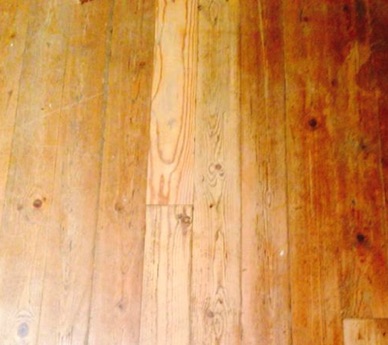
While every attempt was made to use the original floorboards again, it was necessary in some places to use new boards because of irreparable damage to the old floorboards. Where this occurred, there was a clear difference in colour due to years of accumulate staining, even though every effort was made to match the grain.
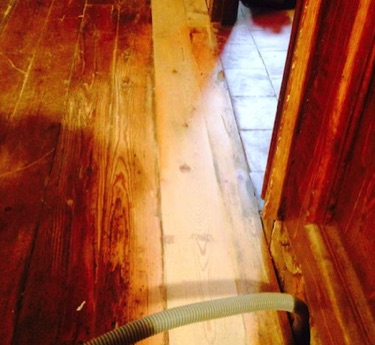
Because of the differences in colour of some of the boards, it was therefore necessary to sand back the floorboards to get a uniform colour, which then didn't match the floor colour in the adjoining Dining Room. Some careful colour matching will be required when it comes to staining the floorboards again.
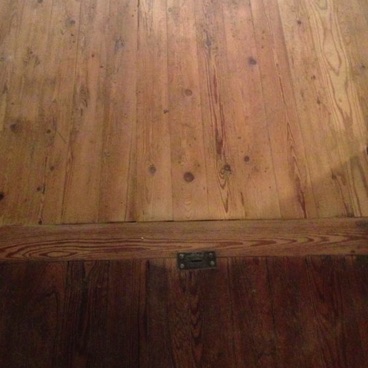
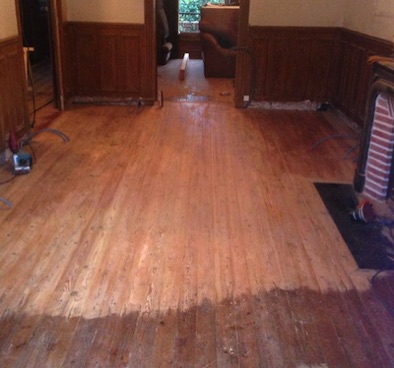
The final appearance of the repaired Living Room floor is a major improvement at this stage.
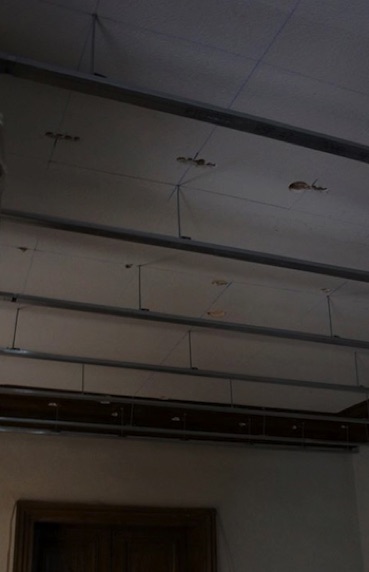
March 2014
The preparations for the new ceiling in the Living Room have begun with the hangers for the suspended ceiling. The new ceiling will be just under the existing cornice, and a new cornice will connect the suspended ceiling to the existing and newly-doubled walls in the Living Room. The doubled walls, on all the external walls, will provide ventilation and insulation space behind the new walls, as well as space for electrical cabling and plumbing (where required).
May 2014
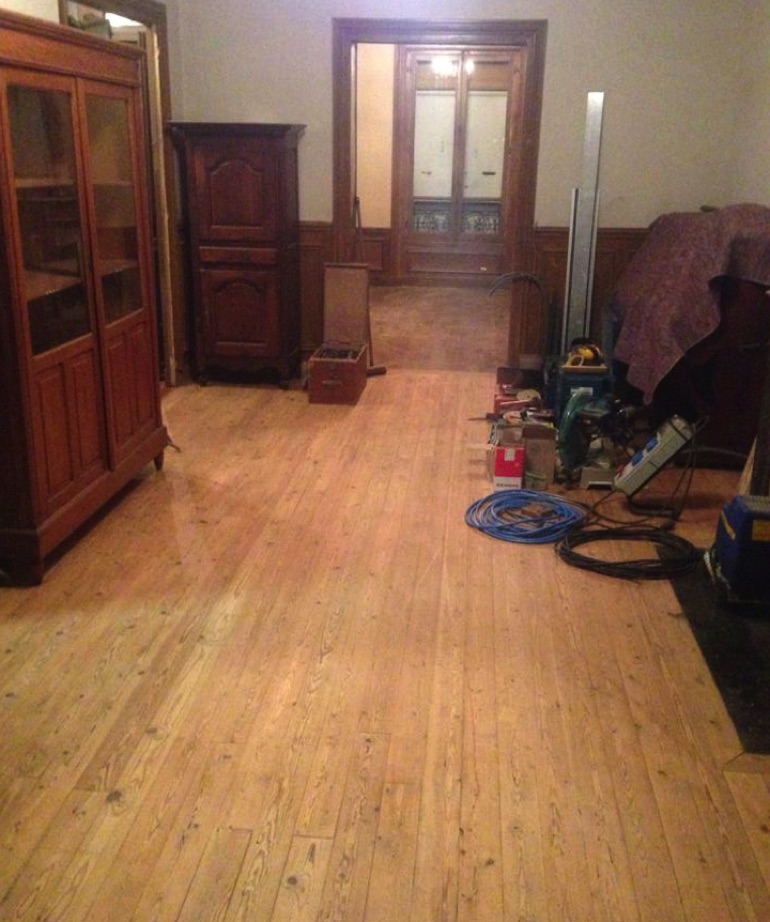
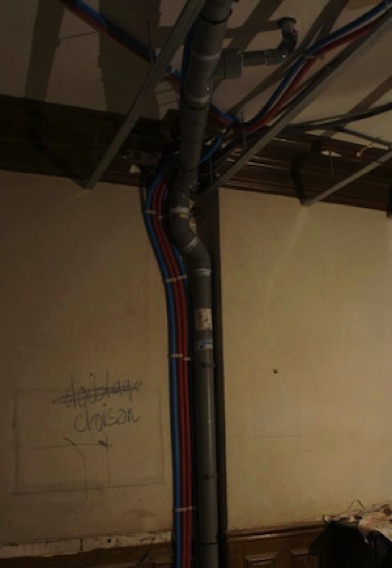
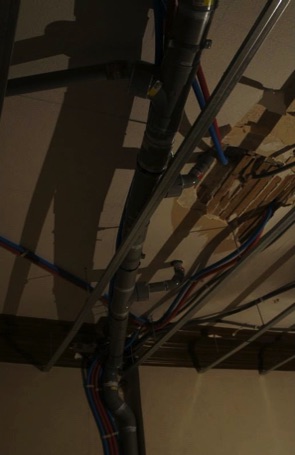
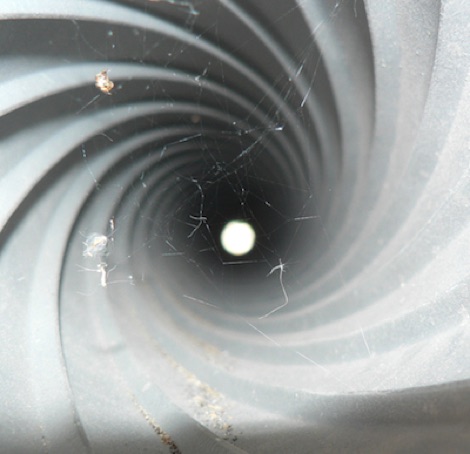
Not much happening in the Living Room in April and May, but a fair bit of activity around the edges. With the ensuites being installed on the first floor, all the waste-water pipes were gathered and run through the suspended ceiling space on the ground floor, then down a vertical pipe that will run in a boxed area next to the Living Room chimney. This vertical pipe is of a special internal design that disturbs the water flow as it descends, so as to silence the flow. This means that those in the Living Room will not hear running water when someone upstairs is taking a shower!

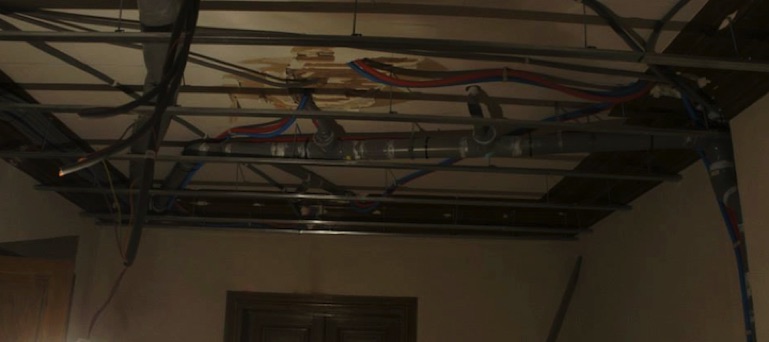
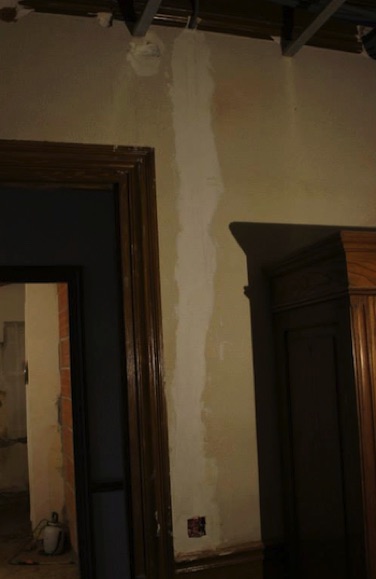
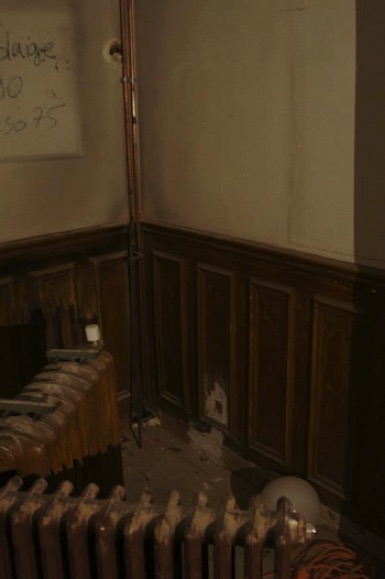
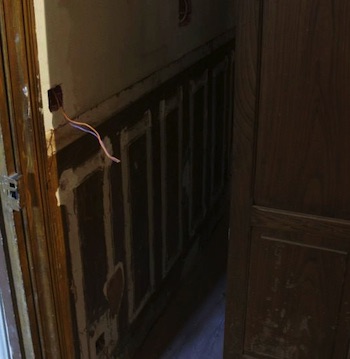
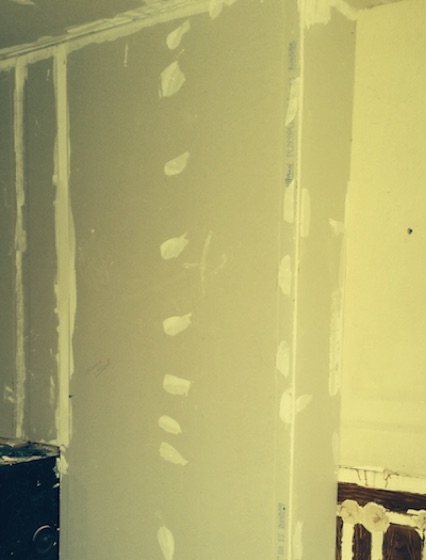
While most of the pipes and cabling will be hidden behind doubled walls, or above suspended ceilings, there are some situations where new switches and powerpoints will be located on existing walls which will still be visible. However, unlike the previous renovations where new cabling was located in visible plastic conduits, all the new cabling in the current renovation will be hidden within the wall. This is done by cutting a groove in the existing wall, placing the cable within, and then plastering over the groove, as shown at left below. This is more time consuming and a little more expensive, but looks a whole lot better and maintains the quality of the renovation. At the moment, all the hot water radiators have been disconnected and moved away from the walls, so that the walls can be painted behind where the radiators will sit. The radiators will also be repainted with a heat-resistant paint before being re-installed.
June 2014
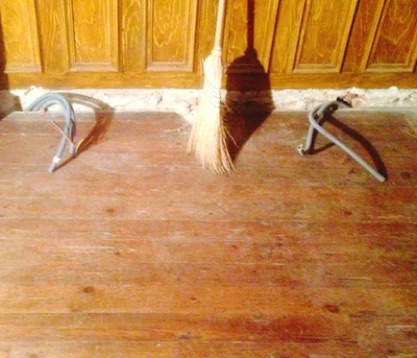
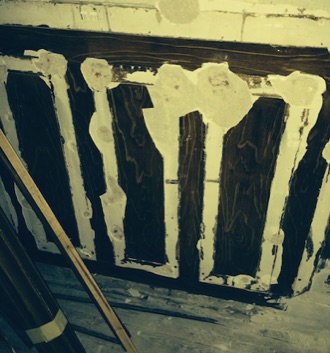
The walls in the Living Room are being prepared for plastering and painting by removing all the raised wood panelling from the lower portion of the walls. The wall will now be sanded back and prepared for painting (or in some cases, wall doubling), while the timber panelling will be stripped back and re-painted and then finally replaced on the newly painted walls to restore the appearance of the dado walls, which we want to keep in several rooms on the ground floor. Cabling was also installed for the installation of the flat-screen TV on the inside wall of the Living Room, which will also be connected to the internet and hence able to be used as a large screen for a laptop to view streamed online content, such as the AFL weekly games (-:
July 2014
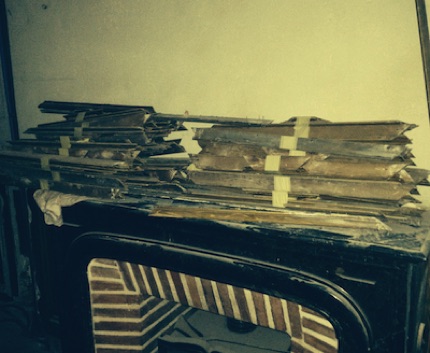
Although the painted wood effect will be removed from the Living Room, we intend to keep the dado walls and the wood panelling on the lower half of the walls. So one tedious job was to remove all the existing panelling, package them in bundles, and store them for later painting and re-installation. (PS: in the end, this panelling was not restored, because too many of the dado strips were unavoidably damaged when being removed, and it proved impossible to find replacement panelling strips to match the profile of the originals).
The other major task in July was the doubling of the front and side wall, and the “boxing-in" of the waste water downpipes on the side wall next to the chimney. To balance the appearance of this "boxing-in”, the chimney surround was also extended on the other side of the chimney.
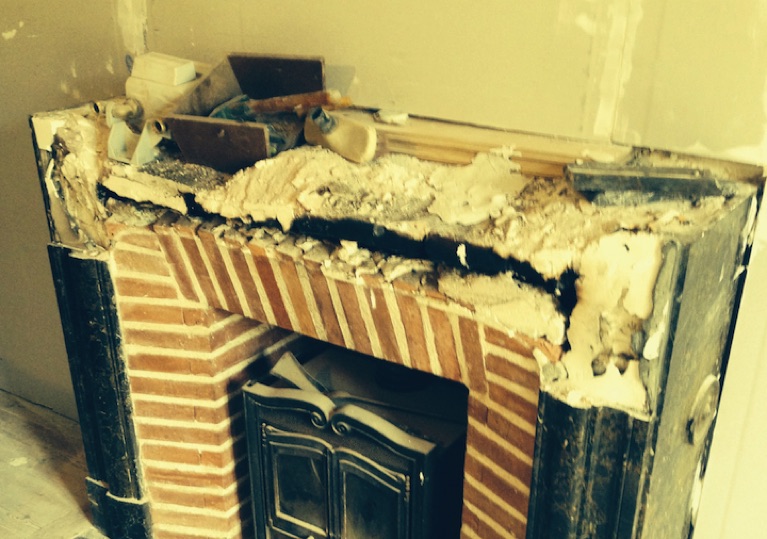
They say that you can’t make an omelette without breaking some eggs! And we found this to be true in the Living Room (as well as other places) in July, when the boxing-in process and the installation of the plaster around the chimney resulted in the marble top of the chimney box being broken. This also revealed decades of ash and soot in and around the chimney, which we now got a chance to clean out. Hopefully the marble can be repaired or replaced later.
August 2014
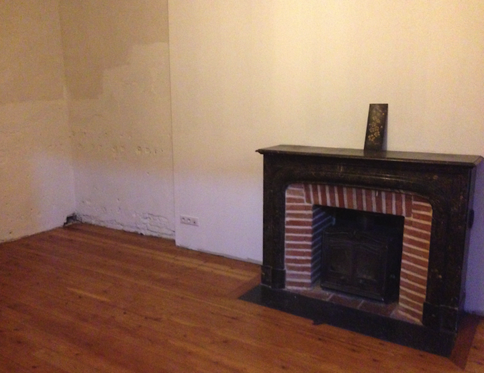
With time running out before the arrival of the band in mid-August, a decision was made to get the house habitable, and to delay final painting and detailing work until September after they had returned to Australia. So while all the plasterwork had been finished in the Living Room, the walls and ceilings were only given an undercoat of white paint, while the doors and other trim was left in its “natural” painted wood state. At least this way the band members will get a better feel for what the original looked like. As shown below, the newly-stained and polished floor matched the old doors quite well. It can also be seen below that the marble chimney surrounds have also been repaired amazingly well. If one didn’t know that it had been broken, one might never see the crack through the middle of the marble top!
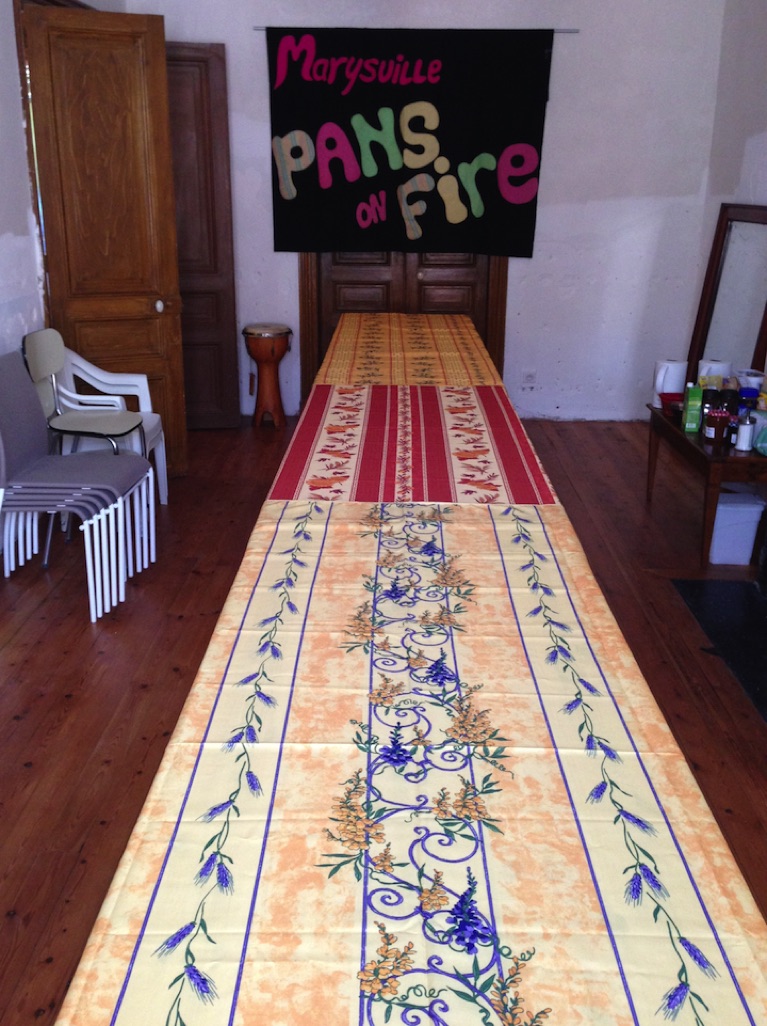
When the band arrived in late-August, it was great to see la Maison ready to be used for the purpose for which it had been bought!