Progress - Bedroom 3
March 2014
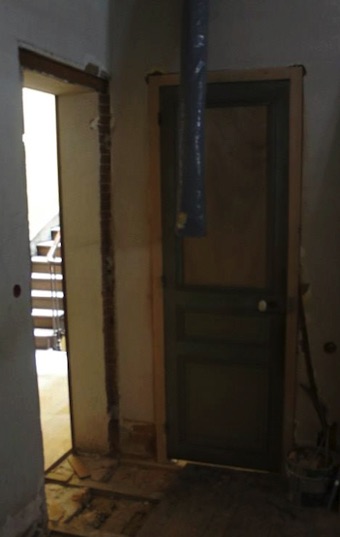
Bedroom 3 is destined to have a new Ensuite connected to it as part of the renovations, but to do this a new doorway was required to provide access to the Ensuite. So in March, a new doorway was cut through the brick wall, and a lintel installed overhead.
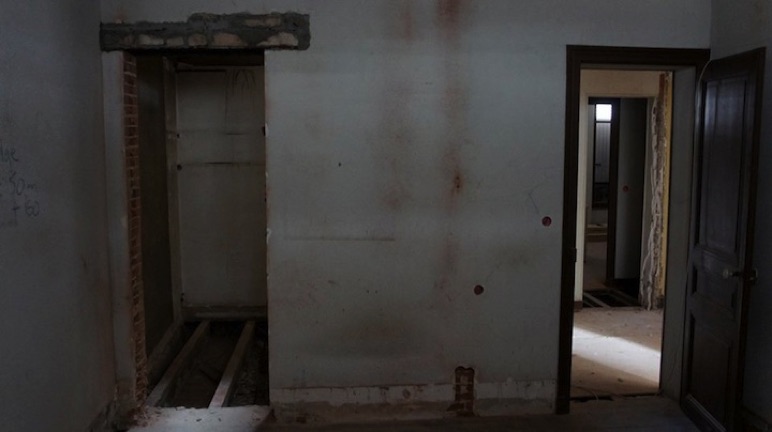
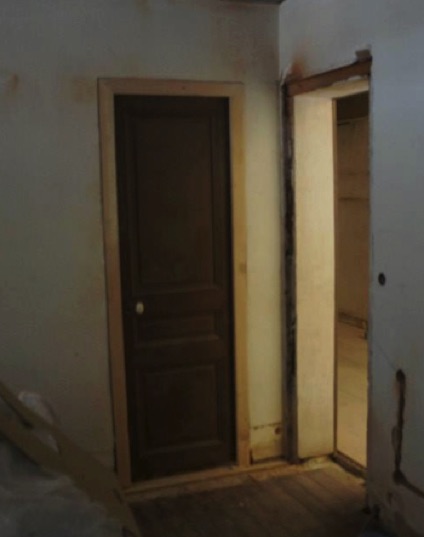
The original entrance door from the Foyer into Bedroom 3 is shown at the right of the photo above. However, since the Foyer is being reduced in size to make space for Ensuite 4, this doorway needs to be closed off (and made into a wall) and a new entrance door constructed to give access to the new alcove off the Foyer. So a new doorway was cut into the wall between the existing Bedroom 1 and 3, as shown from inside Bedroom 3 at left below (the blue tubing hanging down from the top of the photo is part of the VMC ductwork). The old door on the left of the photo will be filled in to make a wall. The other side of the doorway is shown in the photo at right below, with the entrance from the Foyer to the entrance alcove (yet to be constructed) shown on the right of the photo.
April 2014
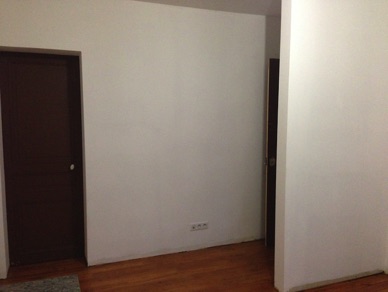
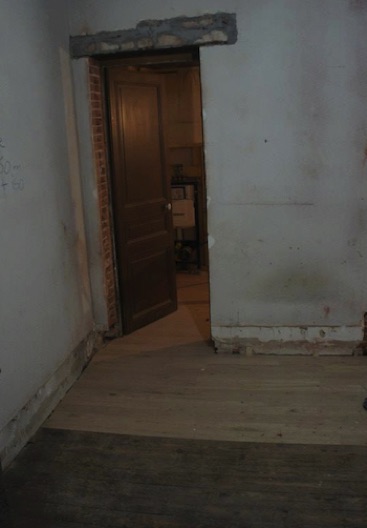
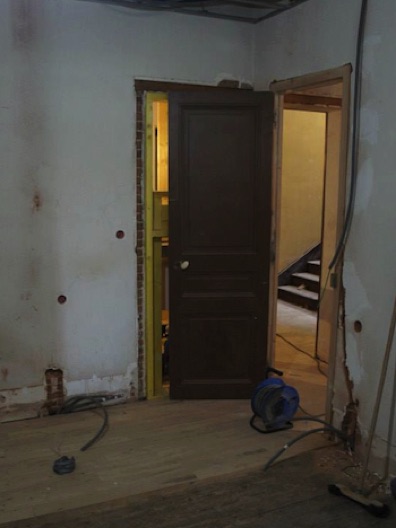
Once the flooring was laid in the Ensuite 3 area, this was extended out in Bedroom 3 and the new Foyer and Alcove area outside the new entry door. The old flooring will eventually be sanded to match the new flooring before both areas are stained to a common colour. It was originally intended that the entry door into Bedroom 3 should open to the left (as you enter the room from the Alcove) to provide a privacy shield for the bed in Bedroom 3, which will be placed on the wall at the right of the photo above. However, in order to use the existing doors and fittings, it was necessary to have the door open to the right as shown above. This will require the construction of another Privacy Wall as in Bedroom 2.
June 2014
As well as plastering the joints between the plasterboards, the old “rough” walls are also being plastered smooth. We had originally intended keeping these textured walls, since they were in many rooms, but the difficulty of being able to match the pattern when repairs were made convinced us to go for smooth plaster walls. Also, as we found out when painting Bedroom 1 last year, these textured walls are incredibly thirsty when being painted. So going for the smooth plaster walls should save us quite a bit of money on paint (which isn’t cheap).

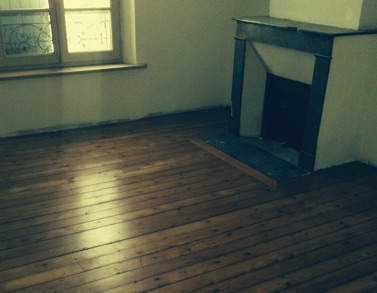
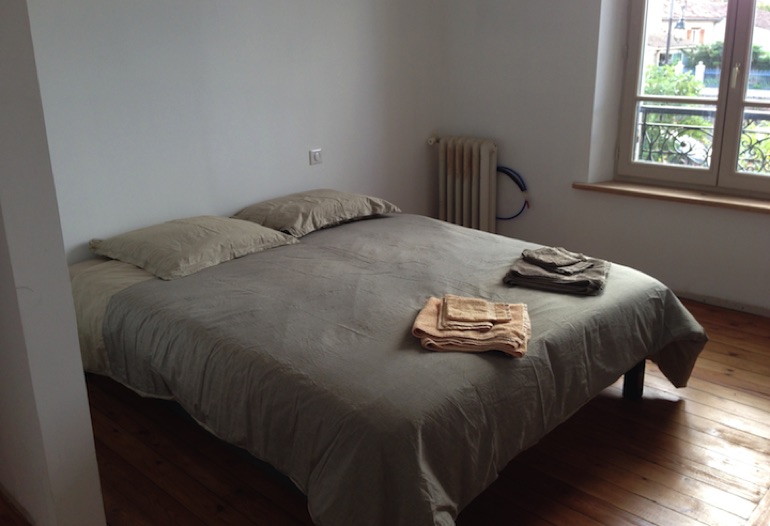
August 2014
With the floor sanded and stained and the first coat of paint on the walls and ceiling, Bedroom 3 is almost ready for the band to arrive. The privacy wall effectively screens the bed from the foyer area at the top of the stairs.