Progress - Kitchenette
December 2013
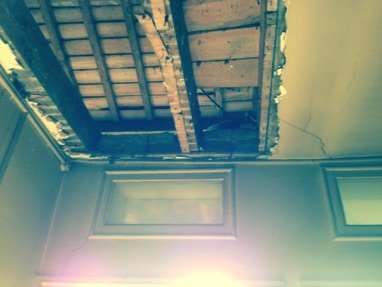
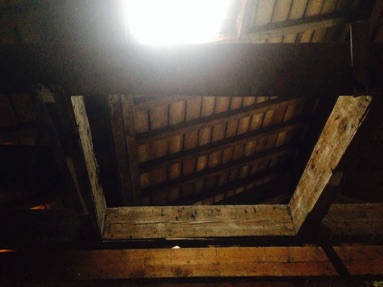
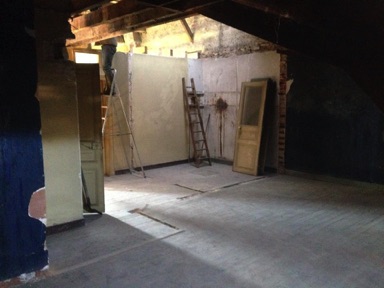
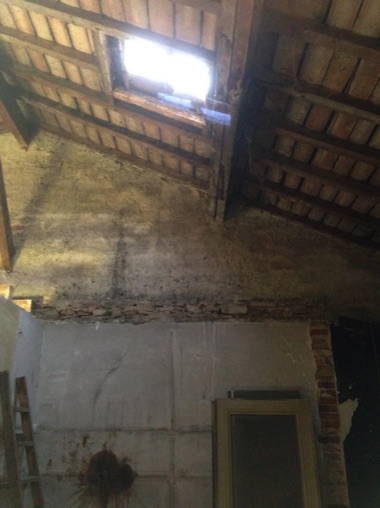
The first task on the 2nd Floor was removing the water-damaged plaster from the ceiling to the Foyer. What started as a minor exploration quickly turned into a large-scale demolition job, opening up new previously unappreciated vistas. The opening in the Storage Room ceiling and the shaft that connected to a skylight above was removed, revealing the skylight in all its glory, and flooding the space with light.
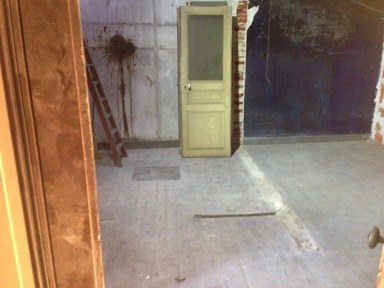
The Storage Room wall fronting on to the Loft was removed, opening up the Loft to the space which would contain the Kitchenette. Originally, this wall was removed simply to enlarge the Kitchenette space, but the sense of openness created by its connection to the Loft led to a decision to not build a new wall separating the Kitchenette from the Loft but to merely use half-height walls defining the separation between the two areas.
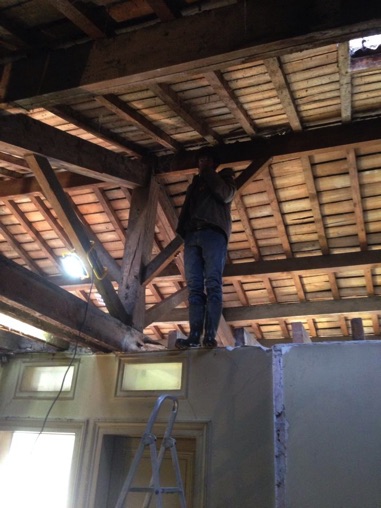
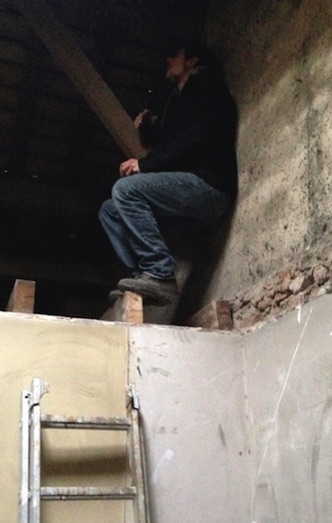
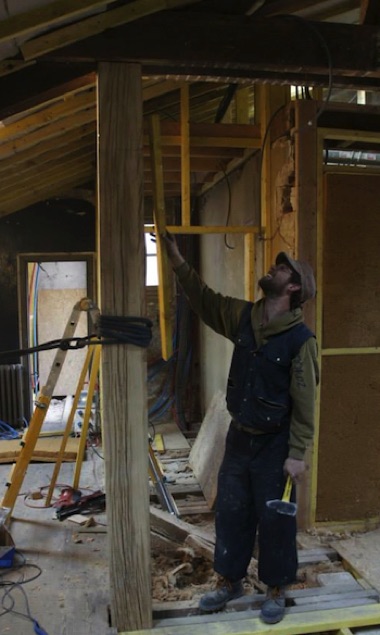
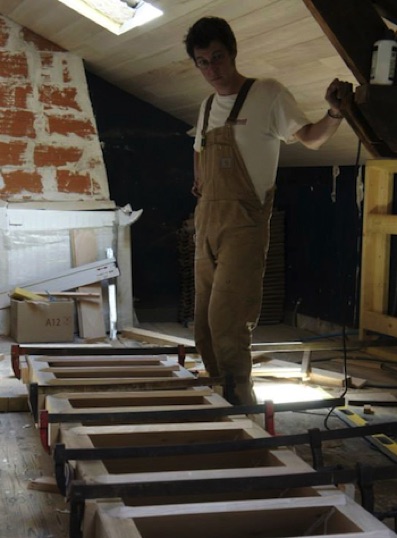
The photo at left below was probably the one that made the biggest impact on future decisions about the 2nd Floor renovation (remember that I was following progress in Australia via photos posted by Miyu on a Facebook page we had established for the renovation). Seeing Nico standing on the top of the Bedroom walls (to show the headroom available in the attic area) led me to email the following comment to him: "That roofing structure (the cross-beam, column and struts) looks very impressive. Is there any way that we could somehow keep it in view in the new design?". This and the view of the roof and skylight above the old Storage Room gave rise to many possible options for redesigning the 2nd Floor, which were discussed at length over the New Year period, and finally settled when I made a trip to Moissac in February 2014.
February 2014
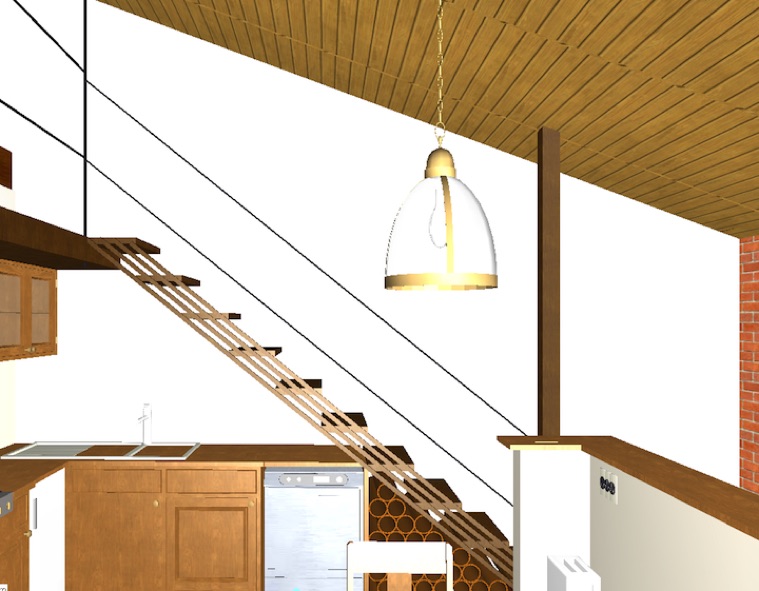
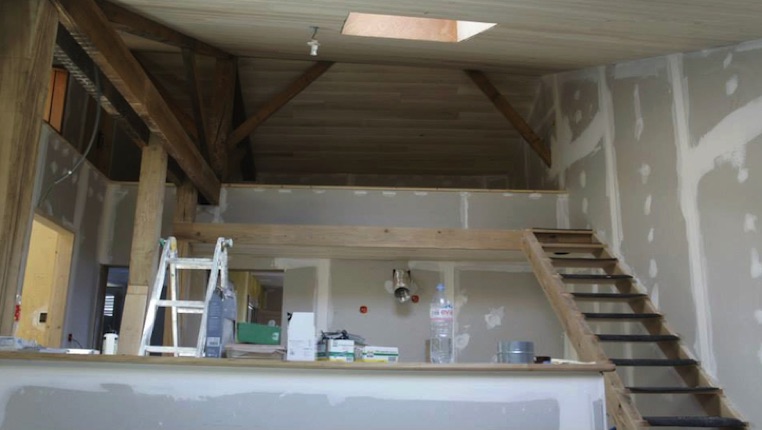
Once the decision was made to remove the ceilings above the Kitchenette and retain the view upwards to the structural timbers, Nico suggested that we place a mezzanine above Bedroom 6 with a set of stairs leading up to the Mezzanine from the Kitchenette. Just as a reminder, this is what the stairs up to the Mezzanine area were intended to look like.
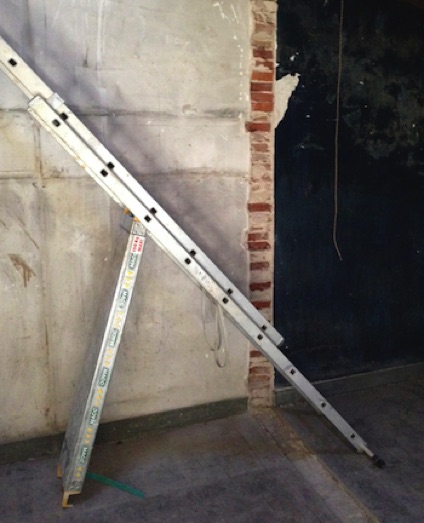
However, while the 3D Home Designer program was very useful for imagining the final product, sometimes there was no replacement for actual experimentation. So when I was in Moissac in February working with Nico on the final design of the 2nd Floor, we sometimes took to experimenting with how things would look, for example by using ladders to simulate stairs to see how much headroom was really available under the roofline, or by having Nico pretend that he was sitting on a chair in the Mezzanine to see how much headroom he would have.
March 2014
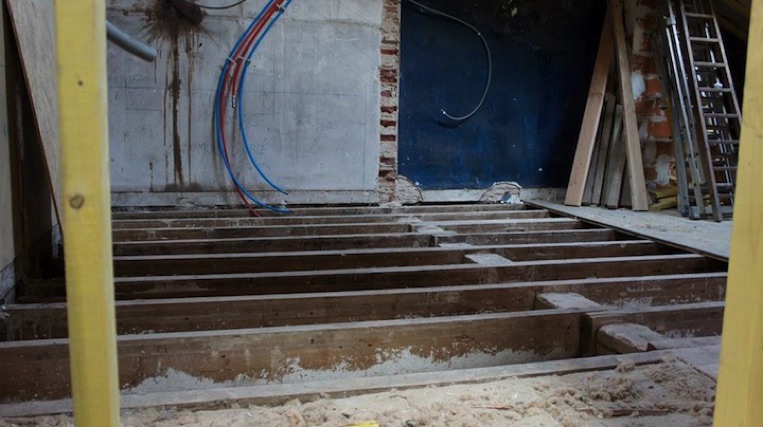
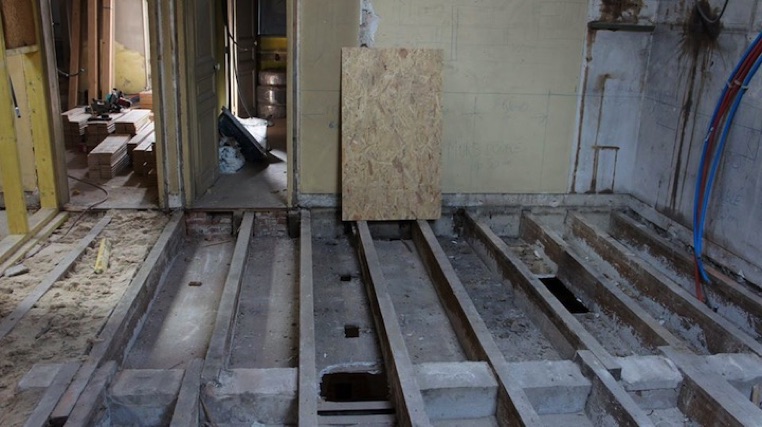
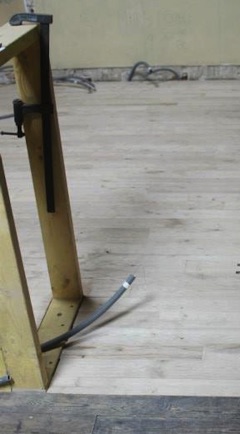
The Kitchenette itself started to take shape over the March period. Because of the removal of several walls in this area, the floorboards were left with a patchwork of gaps where they previously intersected with the walls. Rather than try to repair and fill these gaps, it was decided to remove all the boards and start again in the Kitchenette and Foyer area.
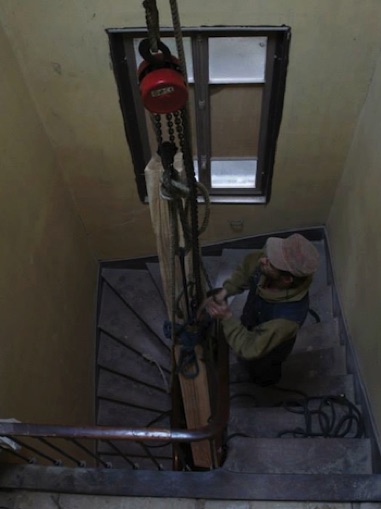
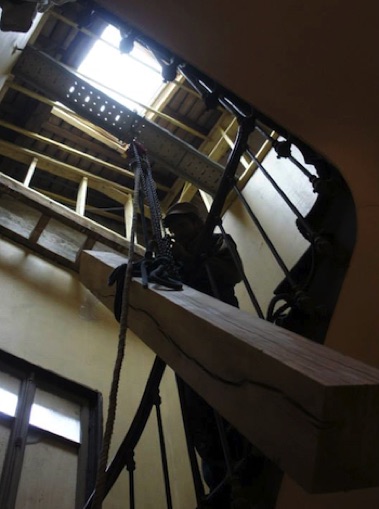
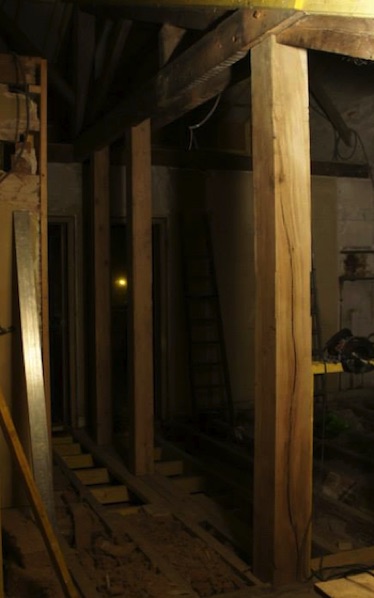
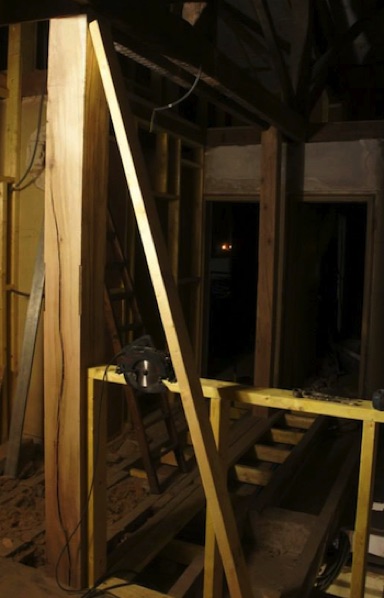
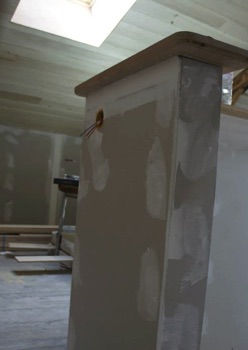
The next job in the Kitchenette area was the construction of the surrounding half-height walls and the installation of the corner posts. Nico had found a timber recycling company in nearby Lauzerte that could supply large dimension posts that would match the structural timbers already in the Loft. They were too heavy to carry to the top floor, so a block and tackle was set up in the Stairwell to lift the posts from the ground floor.
Everyone gave a hand with installing the posts. On the left, plumber Thierry Girard helped get the post into place, while on the right Louison got the post nice and vertical.
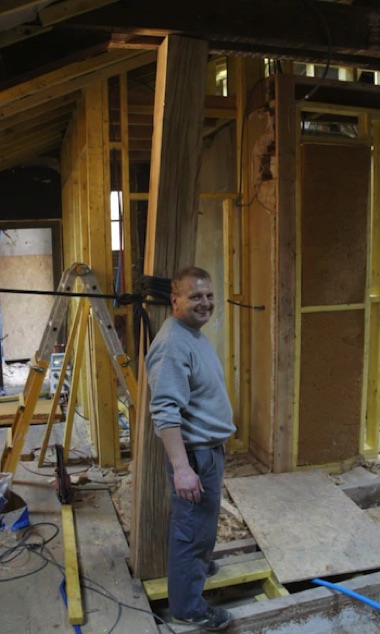
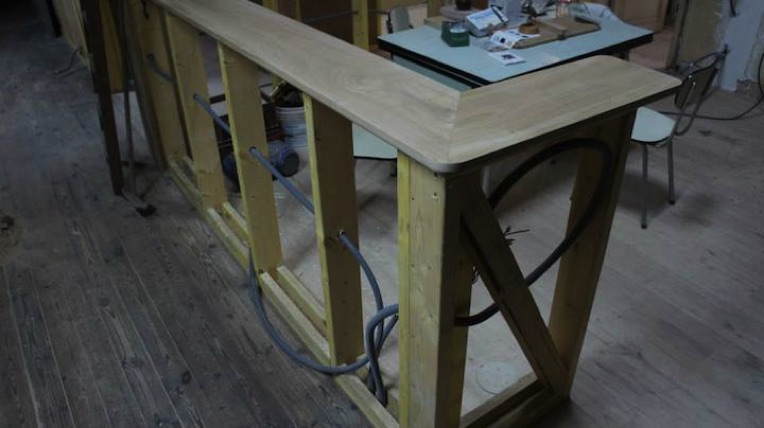
The large corner post had a nice crack that matched one on the old post supporting the ridge beam. Two other posts frame the entrance into the Kitchenette just across from the front door. The half-height walls around the Kitchenette butt up to the large corner post.
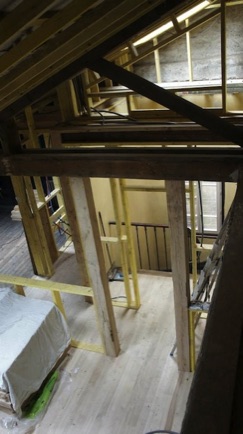
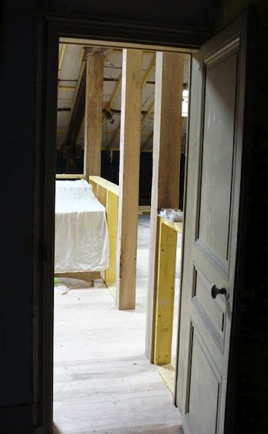
Later in March, the new flooring in the Kitchenette and Foyer was finished. The photo on the left shows the view into the Kitchenette from the Loft area near the return on the half-height wall. The middle photo below is the view from the Mezzanine, while the photo on the right is the view of the Kitchenette entrance when leaving Bedroom 6.
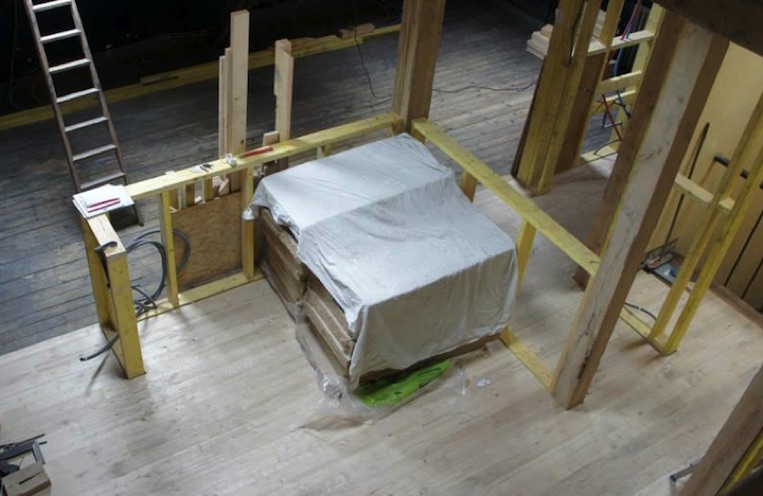
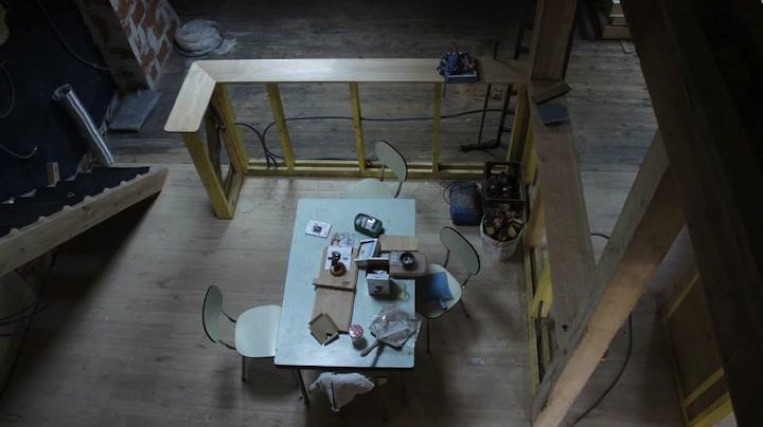
The photo below shows an overview of the dining area in the Kitchenette, with a stack of insulation batts where the dining table and chairs will eventually be.
April 2014
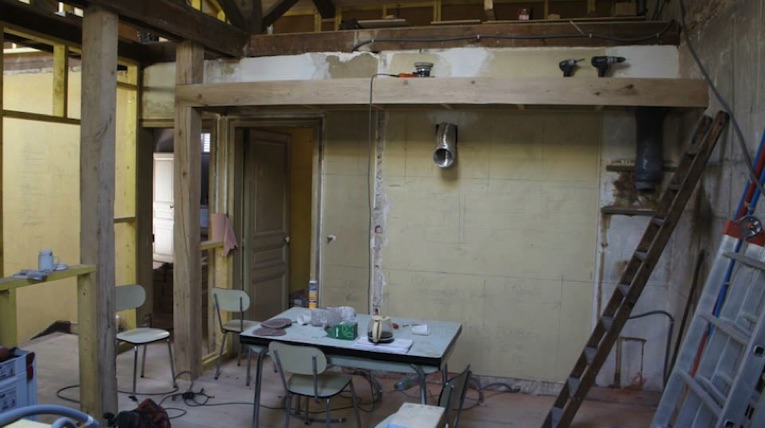
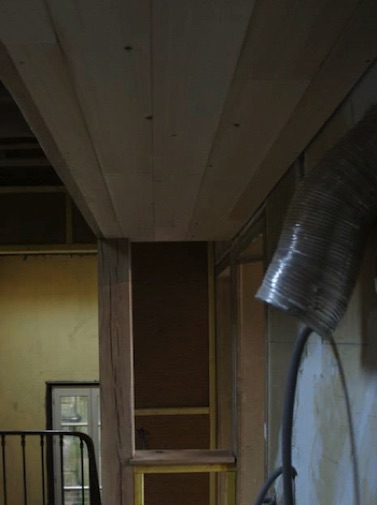
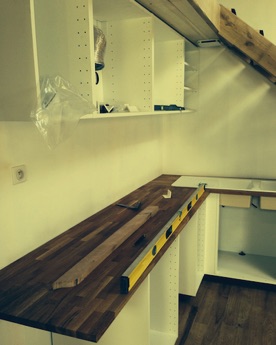
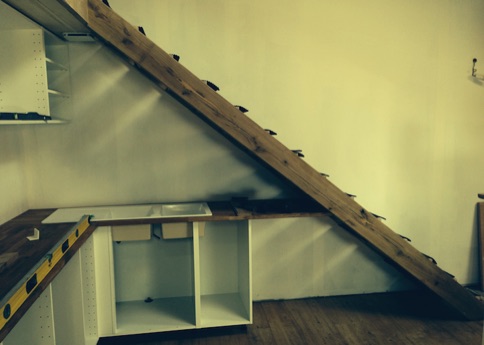
The Kitchenette was starting to take more shape as the platform giving access to the Mezzanine was constructed. This platform runs from the wall on the right to the supporting post at the entrance to the Kitchenette on the left. The cooktop, benches and fridges will go on the floor under the platform, while wall cabinets will be installed directly under the platform. The silver ductwork for the exhaust fan can be seen under the platform, and this ductwork will run in the space over the suspended ceiling in Bedroom 6 to the back wall of the house.
May 2014
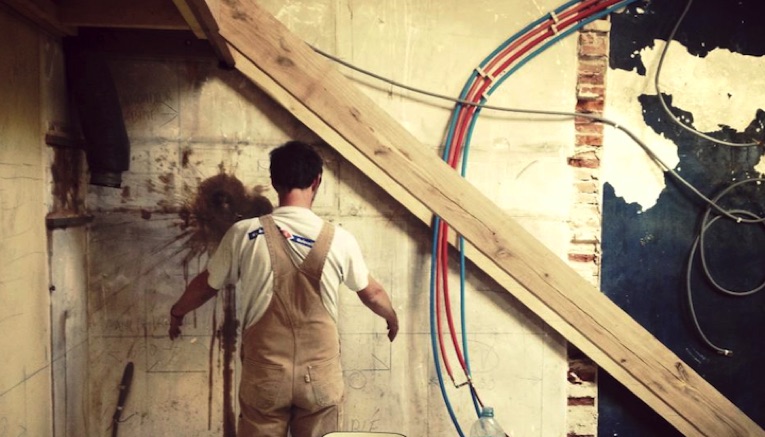
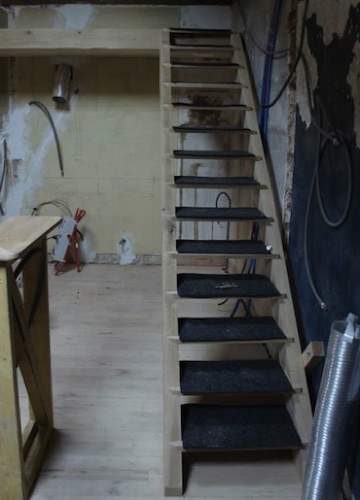
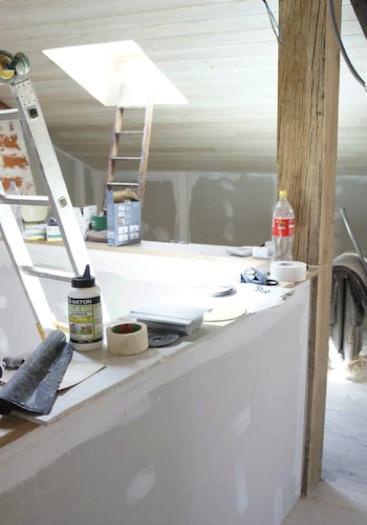
This month saw the start of construction on the stairs up to the Mezzanine that will rise above the Kitchenette cabinets and sink on the back wall. Here Nico checks just where the sink will fit, to ensure that there is plenty of headroom when doing the dishes.
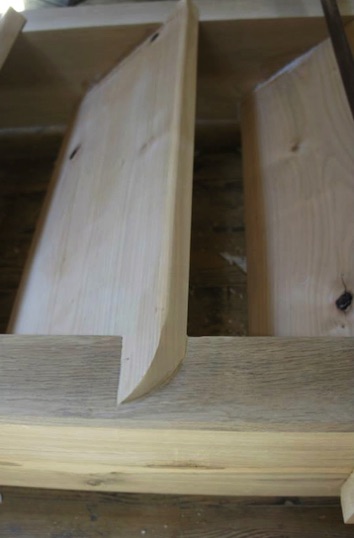
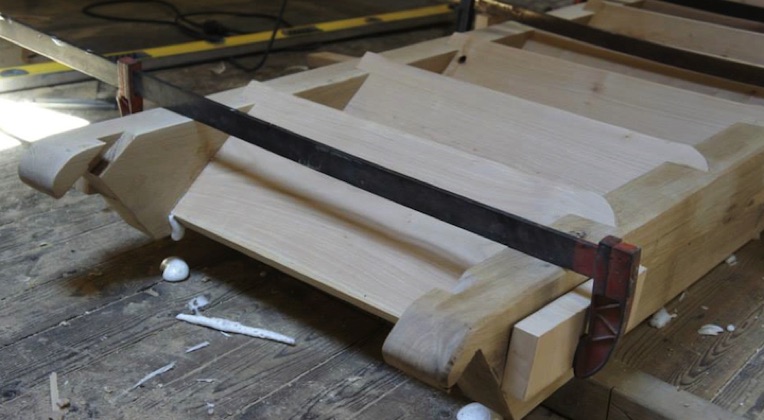
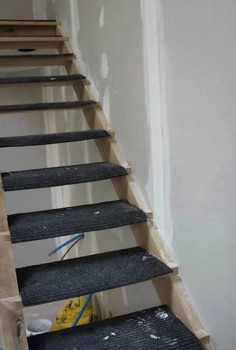
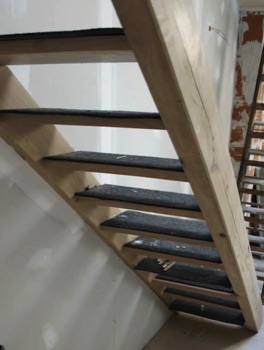
The next step was the actual construction of the stairs. Below we can see a proud stair-builder (Nico Murat) examining his work, and some photos of the quality craftmanship being used on the stair construction.
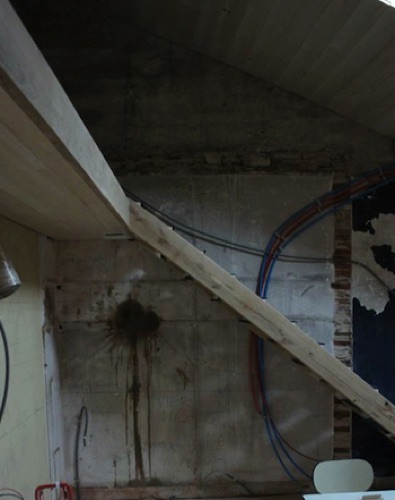
During the month, work continued on the stairs from the Kitchenette to the Mezzanine, and now they are in place. The stringer on the right is attached to the brick wall, and will eventually disappear partly under the new plasterboard doubled wall.
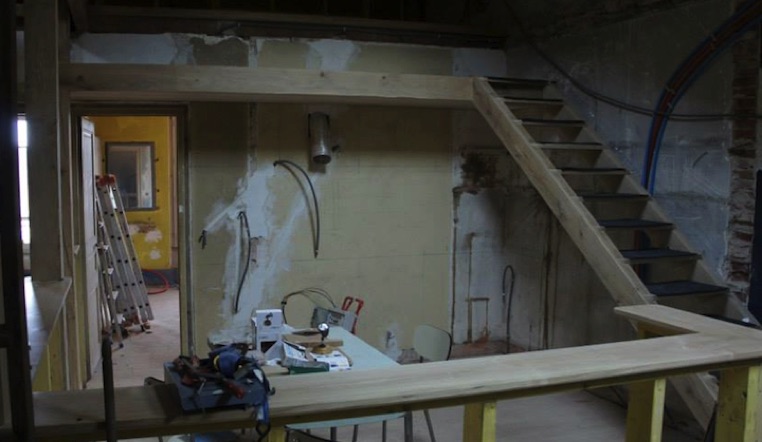
An overview of the Kitchenette shows the linkages via the stairs and platform, from the Kitchenette up to the Mezzanine.
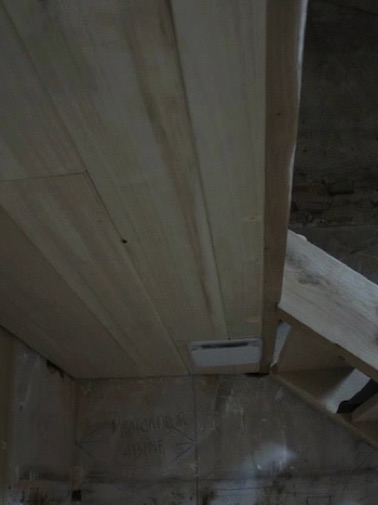
The Kitchenette cabinets and stove will eventually go under the Mezzanine platform, which joins into the post at the entrance to the Kitchenette. The silver ductwork will take the output from the stove exhaust fan, through the space above the suspended ceiling over Bedroom 6 to an outside vent. In addition, the VMC inlet is located above the sink and under the platform and the stairs, and will circulate the general air from the Kitchenette through the VMC system.
Looking down from the Mezzanine, one can get a good idea where the dining table will be located, in place of the Laminex table from the old ground floor kitchen.
The quality of workmanship is well illustrated by the joinery work on the shelf surrounding the dining area.
June 2014
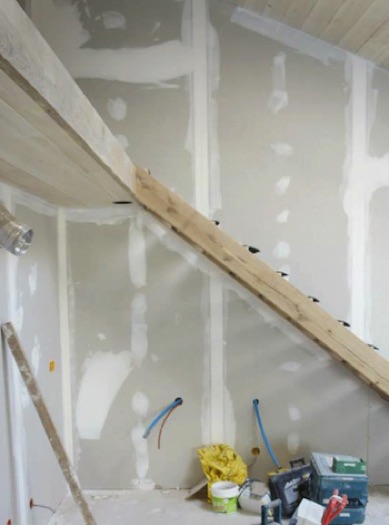
A major change came over the Kitchenette in June when the majority of the plasterwork was completed. All of a sudden, the light spilling though the skylights was not being absorbed by dark work surfaces, but was being reflected by the new plasterwork. One got a true sense of what the finished room would look like.
The seamless way in which the stairs to the Mezzanine disappear into the plaster wall now becomes apparent. The return shelf around the dining area will have a domotique control panel installed, which will enable control of all lights and heating on the 2nd floor. These will also be controllable from control panels at other locations on the 2nd floor, and well as via my iPhone in Australia!!
July 2014
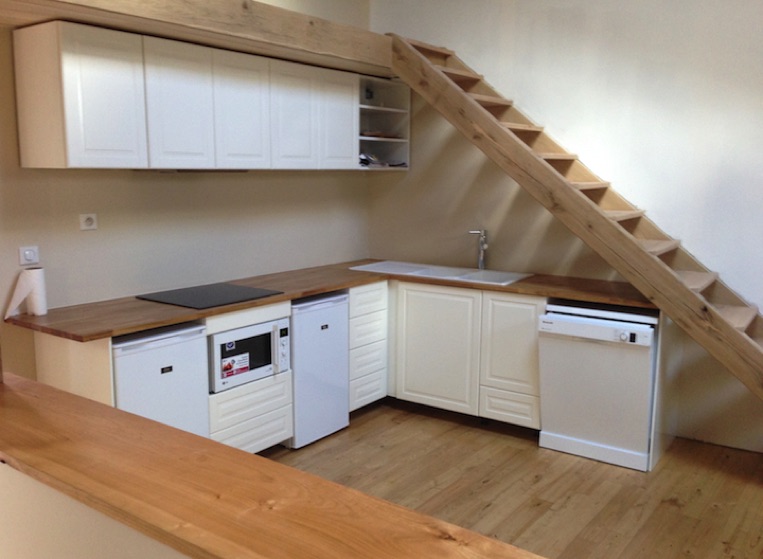
The Kitchenette starts to take on a finished appearance, as the walls are painted and the cabinets and appliances start to be installed.
August 2014
The Kitchenette is now almost finished. Unfortunately, because it is on the top floor it will probably not be used very much during the band tour, even though the ground floor Kitchen will not be finished. This is one of the unavoidable consequences of renovating the house from the top down to ensure a work flow where tradespeople are not forever getting in each other’s way. But, oh my, what a transformation!